
Introduction
There’s something magical about the aroma of fresh pizza wafting through your home. The joy of creating a homemade pizza, complete with your favorite toppings, is a culinary delight that many cherish. However, the secret to a truly exceptional pizza lies not only in the toppings but significantly in the crust. At the heart of every remarkable pizza is a well-crafted pizza dough, and this is where artisan pizza dough shines.
Artisan pizza dough is known for its unique qualities, which stem from the use of high-quality ingredients and traditional methods. Unlike standard pizza dough, artisan dough is characterized by its complex flavors, chewy texture, and crisp crust. It requires a bit more attention and care, but the results are well worth the effort. In this article, we will explore the essential ingredients, the science behind artisan pizza dough, and provide a step-by-step guide to making it from scratch.
Understanding the Ingredients
Creating artisan pizza dough begins with understanding the key ingredients that play a vital role in its development. Each component contributes to the dough’s flavor, texture, and overall quality.
All-Purpose Flour: The Backbone of the Dough
All-purpose flour is the foundation of artisan pizza dough. It provides the necessary structure and strength, allowing the dough to rise and hold its shape. The protein content in all-purpose flour typically ranges between 10-12%, making it an excellent choice for achieving a balance between chewiness and tenderness in the final product. For a more authentic artisan experience, you can also experiment with bread flour, which contains a higher protein content and can yield an even chewier crust.
Active Dry Yeast: The Leavening Agent
Active dry yeast is the leavening agent responsible for the rise of your pizza dough. When activated with warm water and sugar, yeast ferments and produces carbon dioxide gas, which creates air pockets in the dough, resulting in a light and airy texture. It’s essential to ensure your yeast is fresh and properly activated, as this will significantly affect the dough’s performance and final rise.
Sea Salt: Enhancing Flavor and Strength
Salt is a crucial ingredient in artisan pizza dough, not just for flavor but also for strengthening gluten structure. It helps control yeast fermentation, ensuring a balanced rise and preventing the dough from becoming overly sticky or weak. Using sea salt is recommended, as it adds a subtle depth of flavor that enhances the overall taste of the crust.
Sugar: Activating Yeast and Adding Sweetness
While sugar is not a dominant flavor in pizza dough, it plays an essential role in the fermentation process. A small amount of sugar helps to activate the yeast more quickly, speeding up the fermentation and contributing to a slight sweetness in the crust. This sweetness balances the savory flavors of your toppings, creating a harmonious pizza experience.
Olive Oil: Contributing to Texture and Flavor
Olive oil adds richness and moisture to artisan pizza dough, contributing to its tenderness and flavor. It also helps to create a golden-brown crust when baked. For the best results, use high-quality extra virgin olive oil, which will impart a delightful flavor to your dough.
Warm Water: The Ideal Temperature for Yeast Activation
Water is the medium through which all the ingredients come together. Using warm water (around 110°F or 43°C) is vital to activate the yeast effectively. The right temperature encourages yeast activity without killing it, leading to a successful rise. It’s important to measure the water accurately and avoid using overly hot water, which can compromise the yeast’s potency.
Cornmeal: Perfecting the Pizza Base Texture
While not a direct ingredient in the dough itself, cornmeal plays a crucial role in preparing your pizza for the oven. Sprinkling cornmeal on your pizza peel or baking surface prevents sticking and adds a delightful crunch to the crust’s bottom. It enhances the overall texture, making each bite a pleasure.
The Science Behind Pizza Dough
Understanding the science behind pizza dough is essential for achieving the perfect artisan crust. The interaction between ingredients and the processes they undergo during preparation are what bring your dough to life.
Yeast Activation and Fermentation
When yeast is mixed with warm water and sugar, it begins to activate. This activation is the first step in the fermentation process, where yeast consumes sugars and releases carbon dioxide and alcohol. This not only causes the dough to rise but also develops complex flavors, contributing to the overall taste of the crust. Allowing the dough to ferment for an extended period, even overnight, can enhance its flavor profile significantly.
The Role of Gluten
Gluten is a protein found in wheat flour that gives dough its structure and elasticity. When flour is mixed with water and kneaded, gluten strands form, creating a network that traps gases produced by the yeast. This process is what allows the dough to rise and develop that desirable chewy texture. The strength and development of gluten are crucial; under-kneaded dough will be weak and dense, while over-kneaded dough can become tough.
Importance of Resting and Rising Times
Resting and rising times are critical in dough development. After mixing and kneading, allowing the dough to rest enables the gluten to relax, making it easier to shape. The first rise, or bulk fermentation, is when the dough doubles in size as yeast ferments. This process can take anywhere from one to several hours, depending on the temperature and humidity of your environment. A longer fermentation time can yield better flavor and texture, so don’t rush this critical step.
Temperature and Humidity Effects
The environment in which you make your dough plays a significant role in its performance. Temperature affects yeast activity; warmer temperatures can lead to faster fermentation, while cooler environments slow it down. Humidity can also impact dough hydration; drier air may require more water, while humid conditions may require less. Adjusting your recipe based on these factors will help you achieve consistent results.
Step-by-Step Guide to Making Artisan Pizza Dough
With a solid understanding of the ingredients and the science behind them, it’s time to roll up your sleeves and embark on the journey of making artisan pizza dough. Below are the essential steps to guide you through the process, ensuring your dough turns out perfectly every time.
Activating the Yeast
The first step in making artisan pizza dough is activating the yeast. Begin by measuring out the warm water into a bowl. Add the sugar and sprinkle the active dry yeast over the surface of the water. Allow this mixture to sit for about 5-10 minutes until it becomes frothy. This indicates that the yeast is alive and ready to work its magic.
Mixing the Dough
Once the yeast is activated, transfer it to a large mixing bowl. Add the all-purpose flour and sea salt to the bowl, followed by the olive oil. Using a wooden spoon or your hands, mix the ingredients until they start to come together. The goal is to achieve a shaggy dough that is not too sticky and not too dry. If the dough feels too wet, you can sprinkle in a little more flour; if it’s too dry, add a splash of warm water until you reach the desired consistency.
Kneading
Kneading is where the magic happens. Flour your work surface lightly, and turn the dough out onto it. Begin kneading the dough by pushing it away from you with the heel of your hand, folding it back over itself, and rotating it a quarter turn. Continue this process for about 8-10 minutes, or until the dough becomes smooth and elastic. The dough should spring back when gently pressed, indicating that the gluten has developed sufficiently.
By following these initial steps, you will set the foundation for an artisan pizza dough that is flavorful, textured, and sure to impress. Stay tuned for the next part of this article, where we will cover the important steps of resting, rising, shaping, and baking your artisan pizza dough to perfection.
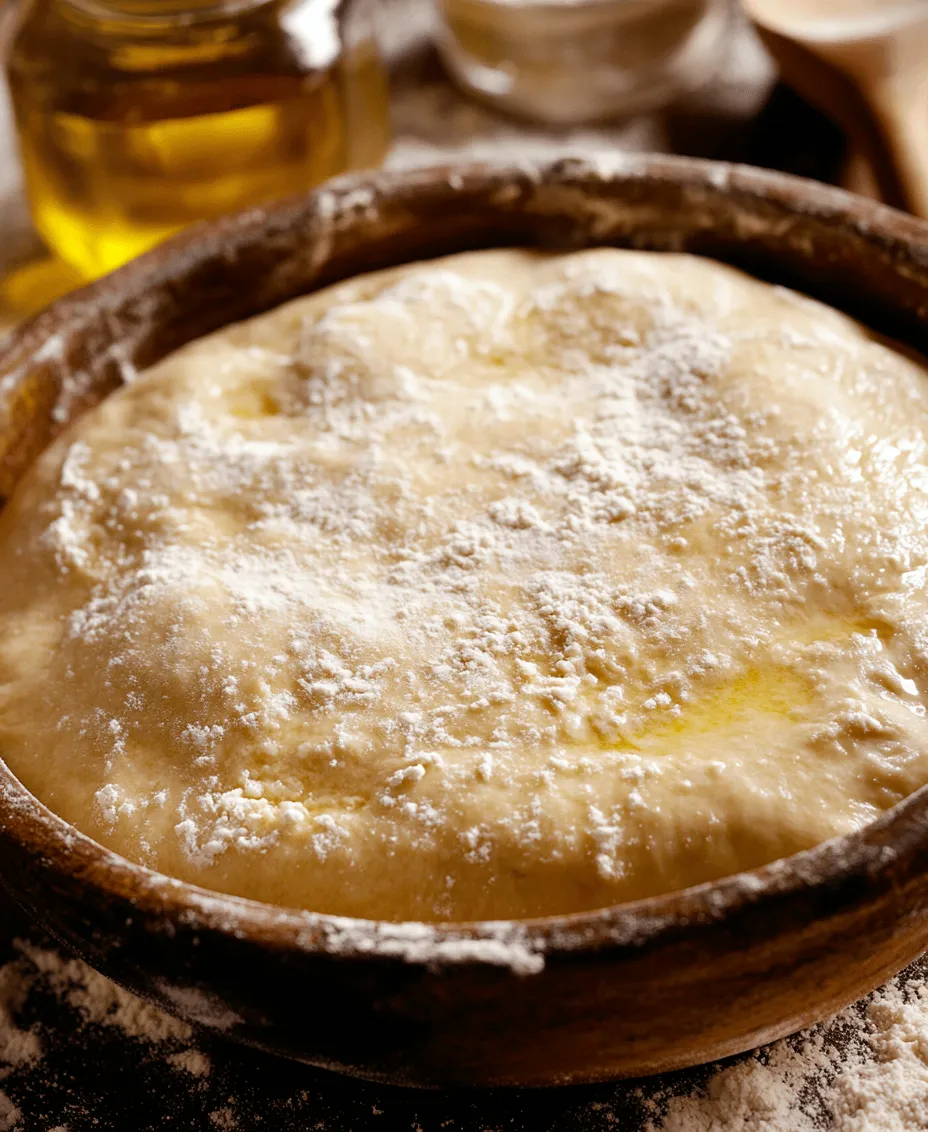
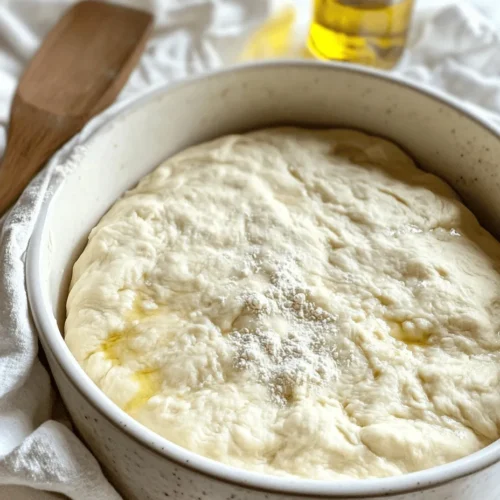
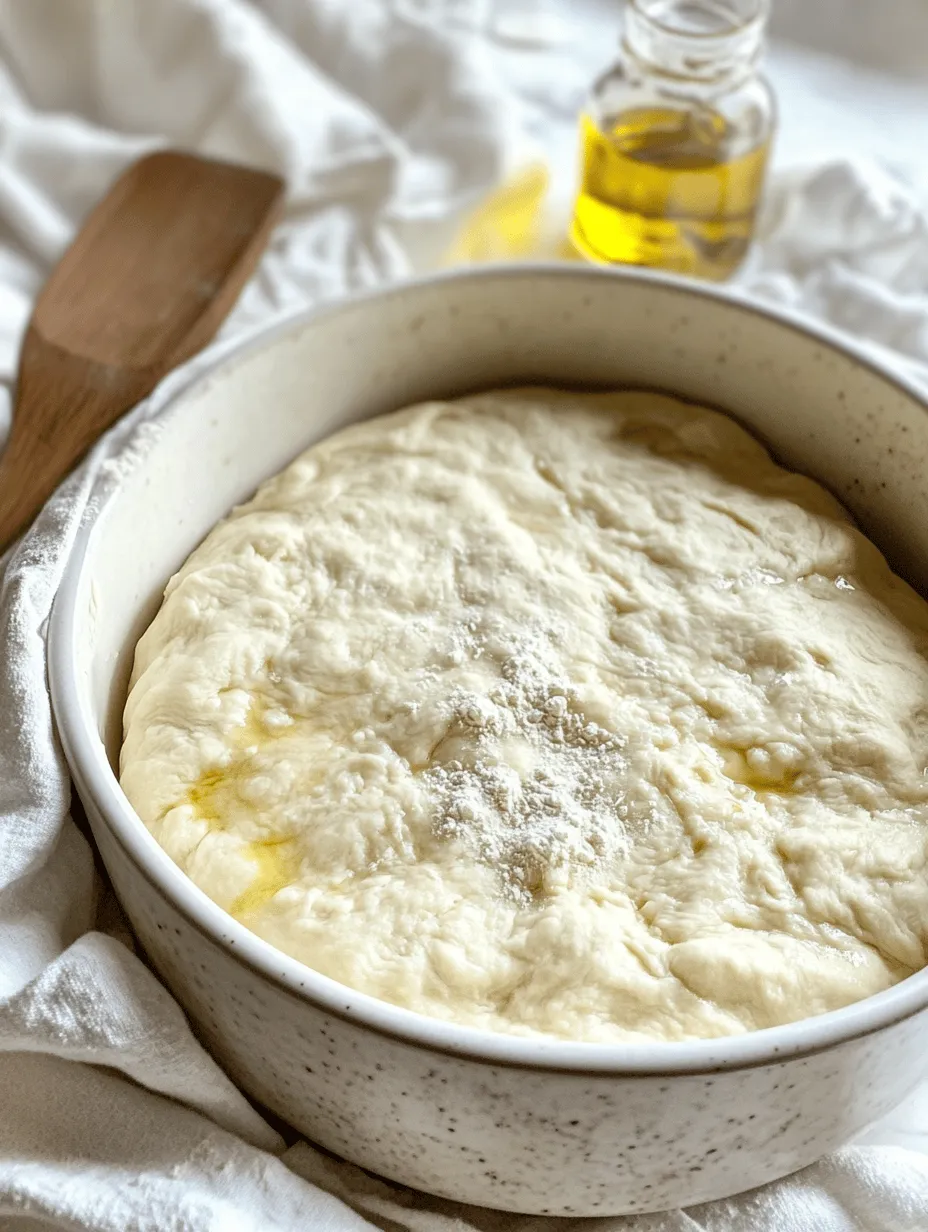
First Rise: Importance of Allowing the Dough to Double in Size
Once you’ve mixed your ingredients into a cohesive dough, it’s time to give it some love. The first rise is crucial in developing the flavor and texture of your artisan pizza dough. During this phase, the yeast ferments, releasing carbon dioxide which causes the dough to expand. It’s essential to find a warm, draft-free environment for this process; ideally, the dough should rest for about 1 to 2 hours or until it has doubled in size.
A well-risen dough will exhibit a smooth, slightly tacky surface, and it will yield easily to gentle poking. This elasticity is a sign that the gluten has properly developed, setting the stage for a chewy yet tender pizza crust. Patience is key here; rushing this process can result in a dense crust that lacks the airy quality we strive for in artisan pizzas.
Dividing and Shaping: Crafting Individual Portions for Different Pizza Sizes
After your dough has completed its first rise, it’s time to divide it into portions. Depending on how large or small you want your pizzas, you can create different size rounds. For traditional pizzas, divide the dough into 2 to 4 equal portions. A typical size for a personal pizza is around 8 ounces, while a larger pizza might require a 12 to 16-ounce piece.
To divide the dough, lightly flour your work surface and gently deflate it. Use a bench scraper or a knife to cut the dough into your desired portions. Gently shape each portion into a ball by tucking the edges underneath to create surface tension. This technique improves the structure of the dough, making it easier to stretch later on.
Second Rise: Preparing the Dough for Baking with Proper Resting Techniques
After shaping your dough into individual balls, it’s important to allow a second rise before you start stretching and shaping. This rise should take between 30 minutes to 1 hour. Cover the dough balls with a damp cloth or plastic wrap to prevent them from drying out.
The second rise helps the gluten relax, which makes it easier to stretch the dough without tearing. During this time, the flavors continue to develop, resulting in a more complex and delicious crust.
Preparing for Baking: The Significance of Oven Temperature and Preheating
Before you start shaping your dough, make sure your oven is ready. Preheating the oven is critical for achieving that perfect artisan crust. Aim for a temperature of at least 475°F (245°C), but if you have a pizza stone, crank it up to its maximum setting, usually around 500°F (260°C).
If you’re using a pizza stone, place it in the oven while it preheats to ensure it retains heat, which will help create a crispy base. This preheating phase can take anywhere from 30 minutes to an hour, so plan accordingly. The hotter the oven, the more quickly the dough will cook, leading to a beautifully charred crust.
Stretching and Shaping the Dough
The fun part begins here—stretching and shaping your dough into the perfect pizza base. There are a couple of techniques you can use to achieve the desired shape and thickness:
Techniques for Stretching Pizza Dough by Hand
Start with a lightly floured work surface. Take one ball of dough and gently flatten it into a disc using your fingertips. Avoid using a rolling pin at this stage, as it can deflate the air bubbles that have formed during the rises. Instead, use your hands to stretch the dough by gently pulling at the edges, rotating it as you go. Gravity will help you here; let the dough hang from your hands for a moment to encourage stretching.
Tips for Achieving the Perfect Crust Thickness and Edge Definition
Aim for a crust that is about ¼ inch thick in the center, tapering to a slightly thicker edge for that classic pizza crust definition. This edge, or cornicione, should be airy and puffy, providing the perfect vessel for all your toppings. If you find that the dough is resistant to stretching, allow it to rest for a few minutes before trying again; this will help relax the gluten and make the dough more pliable.
Options for Using a Rolling Pin Versus Hand-Stretching
While hand-stretching is the traditional method, using a rolling pin can be a time-saver if you’re in a hurry. However, be cautious; a rolling pin can press out the air pockets that contribute to the desired texture. If you choose this route, roll gently, and avoid overworking the dough.
Topping Your Pizza
Now that you have your dough shaped, it’s time for the most exciting part: toppings! Here are some classic and creative topping combinations to consider:
Suggestions for Classic and Creative Topping Combinations
1. Margherita: Fresh mozzarella, fresh basil, and a drizzle of olive oil.
2. Pepperoni: A classic with spicy pepperoni, mozzarella, and a sprinkle of oregano.
3. Veggie Delight: Bell peppers, onions, mushrooms, spinach, and a blend of cheeses.
4. BBQ Chicken: Cooked chicken, BBQ sauce, red onions, and cilantro.
5. Mediterranean: Feta cheese, olives, artichokes, and sun-dried tomatoes.
Importance of Balancing Flavors and Textures for Optimal Taste
When selecting toppings, think about balancing flavors and textures. A combination of creamy, crunchy, and savory elements will enhance the overall experience. Too many toppings can weigh down the crust, so aim for a harmonious mix that complements rather than overwhelms.
How to Layer Ingredients for the Best Baking Results
Start with a thin layer of sauce spread evenly over the base, leaving a small border around the edges. Next, add cheese—this acts as a barrier that helps prevent the crust from becoming soggy. After the cheese, layer on your other toppings strategically, keeping heavier items towards the center and lighter toppings on top. This layering technique promotes even cooking and ensures that your pizza holds its shape.
Baking the Pizza
With your pizza topped and ready, it’s time for the most critical step: baking. The method you choose can greatly impact the final result.
Overview of the Best Baking Methods: Pizza Stone vs. Baking Sheet
Using a pizza stone is the preferred method for achieving that authentic pizzeria-style crust. If you don’t have one, a heavy baking sheet can work in a pinch. For the best results with a baking sheet, preheat it in the oven for about 10-15 minutes before placing your pizza on it.
Tips for Achieving a Crispy Crust and Well-Cooked Toppings
To achieve a crispy crust, consider the following tips:
– Use less sauce; too much liquid can lead to a soggy crust.
– Bake in the lower third of the oven if using a baking sheet to ensure the bottom cooks thoroughly.
– Rotate the pizza halfway through baking to ensure even cooking.
Ideal Baking Times and Temperatures for Perfect Pizza
Typically, artisan pizzas bake in about 10 to 15 minutes at high temperatures. Keep a close eye on your pizza; once the crust is golden brown and the cheese is bubbly and slightly caramelized, it’s ready to come out.
Serving and Enjoying Your Artisan Pizza
Now that your pizza is out of the oven and looking irresistible, it’s time to serve and enjoy!
Suggestions for Pairing Your Pizza with Sides, Dips, or Beverages
Pair your artisan pizza with a light salad, garlic bread, or even a charcuterie board for a complete meal. A drizzle of balsamic glaze or a side of marinara can elevate the experience. For beverages, consider pairing with a light beer, a crisp white wine, or even homemade lemonade.
The Communal Aspect of Sharing Homemade Pizza
Pizza is inherently a communal dish. Gathering friends and family around the table to share homemade pizzas can create lasting memories. Encourage everyone to customize their own pizzas with various toppings, making the experience interactive and fun.
Encouragement to Experiment with Different Ingredients and Styles
Don’t be afraid to experiment! Try different sauces, cheeses, and toppings to create unique flavor combinations. Consider themed pizza nights where you explore different culinary traditions, from Italian to Mexican-inspired pizzas.
Conclusion
Creating artisan pizza dough from scratch is a rewarding culinary experience that allows you to connect with the art of pizza-making. From the initial mixing of ingredients to the final baking and savoring of your creation, each step contributes to the flavor and texture of the final product.
The joy of sharing homemade pizza with family and friends makes the effort worthwhile. Whether you stick with classic toppings or venture into creative territory, your artisan pizza will surely impress. So roll up your sleeves, gather your loved ones, and enjoy the delicious journey of making pizza from scratch.